
Industrial bearings are critical in smoothly operating industrial machinery, equipment, and motors. Over time, these bearings can be damaged or wear out due to normal wear and tear. Because of this, proper bearing installation is crucial to the longevity and performance of your equipment.
In this guide, we will walk you through the step-by-step process of how to properly remove and replace industrial bearings.
Why Is Industrial Bearing Maintenance Important?
Scheduling regular maintenance for your industrial bearings is the best way to ensure the functionality and efficiency of your equipment. When bearings fail, your equipment may fail as well. This could result in long downtimes, costing you and your facility time and money.
Proper maintenance schedules for an industrial bearing should include routine inspections, cleanings, and regular lubrication. The number one cause of premature bearing failure is insufficiently lubricating bearings on a regular basis, making this one of the most important steps in the maintenance process.
Upholding a maintenance program and preemptively replacing bearings when necessary can help improve the service life of your manufacturing equipment. For this reason, it’s best to know how to properly remove and replace an industrial bearing at the chance that you may need to do so yourself.
6 Steps for Proper Industrial Bearing Removal and Replacement
To successfully remove and replace an industrial bearing, it’s important to follow the step-by-step process laid out below. This will not only guarantee a successful bearing replacement, but will also ensure your safety and well-being.
1. Gather Necessary Tools and Safety Gear
Before starting the bearing removal process, you will need to gather any necessary tools and equipment, as well as take important safety precautions into consideration.
Required tools and equipment for this process may include:
- Bearing puller or extractor
- Bearing press, tubular drift, or installation tool
- Hammer or mallet
- Allen wrenches or socket set
- Cleaning solvent and lubricant
- Safety gloves and goggles
For a thermal bearing installation, a modern bearing induction heater is recommended.
It is also crucial to prioritize safety when working with machinery. You should refer to the equipment manufacturer’s manual for proper instructions and take all precautions into consideration when working with industrial equipment. Always check your company’s procedures for bearing removal, as well.
Any power supply to the machinery must be properly disconnected. You will also need to lock out and tag out the equipment to prevent any accidental startups. Finally, be sure to wear appropriate personal protective equipment (PPE), including safety gloves and goggles.
2. Remove the Old Bearing
Now that all preparations are taken care of, it’s time to remove the old bearing. It is imperative that the old bearing is removed safely without damage to the shaft, housing, or other components that are not being replaced. Follow these steps to remove the bearing:
- Clean the surrounding area to prevent debris from entering the equipment during removal.
- Remove the locking washer by bending the locking tab out of the way. Then, use a spanner wrench to remove the locking nut.
- Lubricate the bearing with penetrating oil.
- Use a ball bearing puller or extractor to gently and evenly apply force to the bearing. When doing so, keep the pressure as even as possible. Gentle tapping with a hammer or mallet may aid in removal. Most importantly, do not cut the bearing off with a grinder, as you may risk damaging the housing and shaft.
- Once the bearing is free, inspect the housing and shaft for signs of wear or damage that may require further repair or replacement.
- Inspect the bearing itself and take note of any unusual damage.
Old bearings should always be inspected to determine the cause of damage. The answer may be simple wear and tear, but if that isn’t the only issue, it is essential to find out what caused the bearing to wear out. This may give insight into other parts of the equipment that may be malfunctioning and causing damage to the bearing over time.
Investigating the cause of bearing damage may require experienced eyes, so don’t be afraid to ask a professional if you need help identifying any problems.
3. Prepare the Replacement Bearing
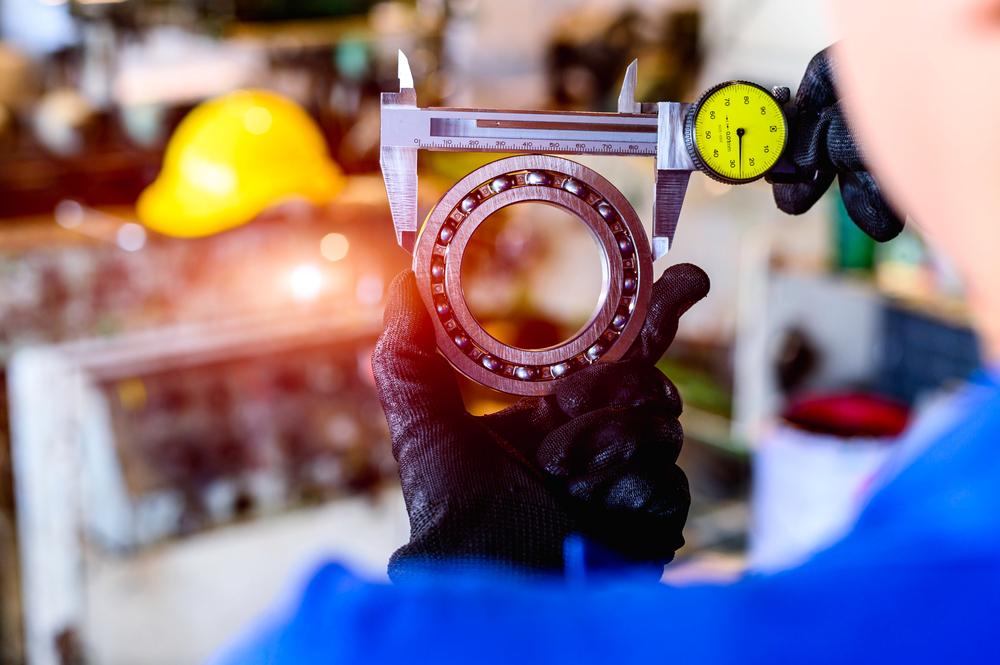
Purchasing the exact replacement bearing is critical. There are several different types of bearings, and reputable manufacturers will mark each one with numbers to denote dimensions and tolerances. If you need to measure the bearing, ensure your micrometer has a precision of up to 0.0001 inches.
If the new bearing is not shipped already sealed and lubricated, it is important to prepare it. First, thoroughly clean the new bearing with a suitable cleaning solution to remove protective coatings and contaminants. Then, to reduce friction, apply a thin layer of manufacturer-approved lubricant to the bearing’s inner and outer race.
If your replacement bearing arrives sealed and lubricated, wait to unwrap it until you are ready to install it.
4. Prepare the Shaft and Housing
Next, you will need to prepare the bearing location. Both the shaft and the housing should be thoroughly cleaned and free of gouges and burrs. Clean the shaft with an industrial Scotch Brite pad where the bearing will be seated. Emery paper is traditional, but it can dirty surfaces with loosened particles.
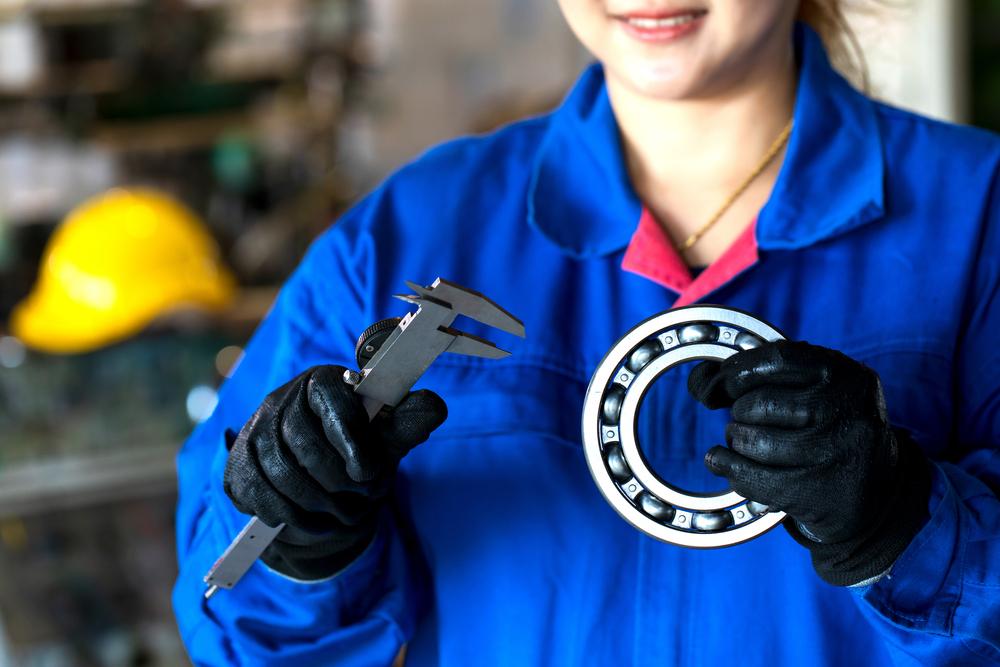
Use a light machine oil to eliminate any extra moisture or acids. You’ll then need to check both the shaft and housing to ensure it is within the recommended tolerances for the application. To do so, use measuring calipers to check if the shaft is out of round.
5. Install the New Bearing
Now that the old bearing has been removed, the replacement is prepared, and the housing and shaft are checked and cleaned, we are ready to install the new bearing.
A press fit is present in most applications, such as with electric motor shafts. A press fit is when two parts are pressed so close together that they cannot move without an outside force. Press fits are necessary for many, if not most, bearing applications. It allows the bearing to hold on tight to the shaft while not being permanently bonded. By not permanently bonding a bearing to the shaft, it can be replaced as needed without damage to the shaft.
In a press fit scenario, the inside diameter of the bearing will be too tight to slide onto the shaft without an application of force. Fortunately, special tools have been developed to create a force strong enough to get the bearing in place.
A tubular drift (bearing driver) or an arbor press can be used to apply enough force to press fit the bearing safely. Alternatively, you can use a thermal fit installation. If it is really tight, you can combine these two installation methods for particularly stubborn bearings.
Further explanation of each installation process is included below:
Press Fit Ball Bearing Installation
- Align the replacement bearing with the housing and ensure it is seated and centered. Be careful not to let the new bearing touch any dirty surfaces while preparing to seat it.
- Use an arbor press or tubular drift to apply even pressure to the bearing, gradually pressing it into place. Avoid excessive force and hard impacts. Pressure should be applied only to the inner ring of the bearing surface. Do not apply force to the ball bearings or the outer ring.
- Once the bearing is seated, check its alignment and ensure it rotates freely all the way around without any hesitation.
Thermal Bearing Installation
Materials expand when their temperature is raised and shrink when their temperature is lowered. You can easily install a bearing by heating the bearing and cooling the shaft. It is important to remember to keep the housing, shaft, and bearing extremely clean and free of burrs. Many installers choose methods that introduce contaminants to bearings when attempting thermal installation.
In cases with extreme fit, liquid nitrogen can be used to cool down a shaft. If you are located somewhere cold, some technicians place the diameter shafts outside overnight and heat the bearings in the morning to assemble them. However, cooling shafts overnight can introduce water, which can cause corrosion.
Toaster or pizza ovens and hot oil baths can heat bearings, but these methods can often be slow and introduce contamination. A more modern, recommended method is an induction heater. Bearing induction heaters are safe, fast, efficient, and clean.
Be sure to wear proper personal protective equipment while working with hot objects, and follow the manual guidelines for the bearing induction heater. Typically, the recommended temperature setting is 230 degrees Fahrenheit.
Keep in mind that it is sometimes necessary to combine thermal and press-fit installation processes.
6. Post-Installation Checks and Maintenance
Once you have successfully replaced the bearing, perform the following checks and maintenance:
- Inspect the shaft and housing for signs of damage or misalignment.
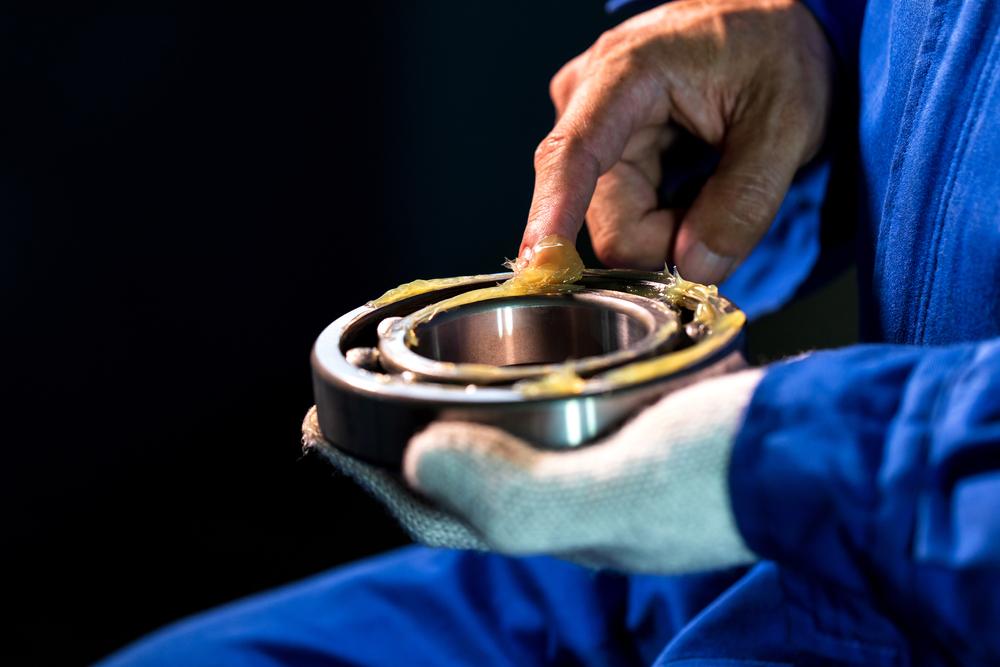
- Verify the bearing is adequately lubricated and that the lubricant is distributed evenly. Do not over-lubricate.
- Conduct a test run of the machinery and ensure smooth operation. Identify potential issues and test for unusual vibration.
- Record the replacement in the maintenance schedule.
Industrial Bearing Maintenance Services at IBT
If you’ve never removed and replaced an industrial bearing yourself, or you’re not comfortable doing so, you may want to consult with an industrial maintenance expert first.
Do you need help with your maintenance schedule? Are your bearings wearing down faster than they should? IBT Industrial Solutions can help! Our team can identify problems with misalignment, vibration, and other issues that reduce equipment service life. We can also diagnose and troubleshoot repairs, provide preventative maintenance crews, or train your own technicians on how to create and execute a preventative maintenance plan.
To learn more, Contact IBT today!